A commercial water meter installation needs more planning than simply joining two pipes. In this Korean shop, the tenant needed a new meter but also wanted to keep the sink base cabinet usable. The solution was to mount the meter securely and route the supply pipes close to the wall, leaving the center of the cabinet open for storage and future maintenance.
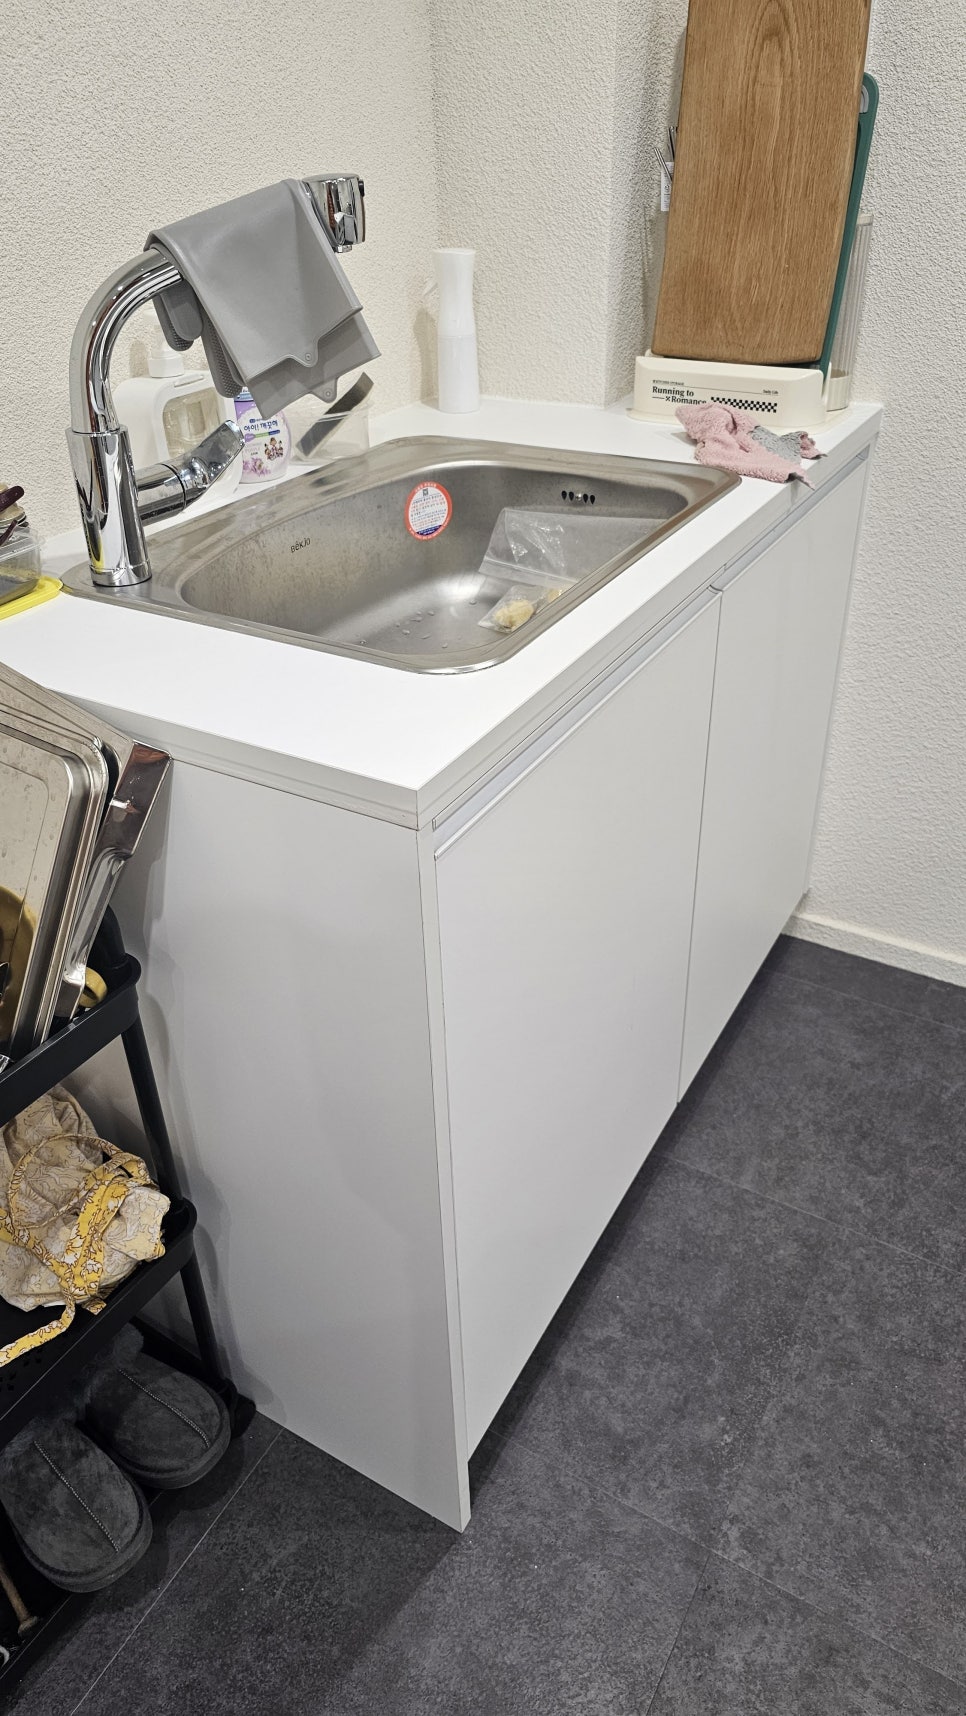
Confirm the supply arrangement first
Before cutting any pipe, identify the incoming cold-water line, the branches serving the sink and equipment, and any hot-water connection. Shutoff valves should be labeled and tested. A wrong assumption can interrupt neighboring fixtures or place the meter on a branch that does not record total shop consumption.
Building management or the local water utility may specify the meter type, orientation, straight-pipe length, sealing method and inspection procedure. Confirm those requirements before buying parts or choosing a location.
Plan for reading and future service
A meter hidden behind stored supplies will be difficult to read and easy to damage. Leave a clear view of the register, room to operate the shutoff valves and enough space to remove the meter later. The installation should also avoid blocking drawers, shelves and the sink trap.
In this case, a wall-mounted bracket carried the meter and the pipes were routed neatly along the back and side of the cabinet. This protected the assembly from stored objects while preserving most of the floor area.
A practical installation sequence
- Verify authorization and meter specifications. Confirm building and utility requirements.
- Shut off and drain the line. Open a low fixture to release pressure before disassembly.
- Mark the final route. Check cabinet doors, hinges, shelves and sink plumbing before drilling.
- Install solid support. The meter and fittings should not hang from flexible tubing alone.
- Fit valves and couplers. Use compatible materials and follow the meter’s required flow direction.
- Secure pipes close to the wall. Prevent vibration, movement and accidental impact.
- Restore water slowly. Purge air and inspect every joint under pressure.
- Confirm registration. Run a known fixture and make sure the meter count changes correctly.
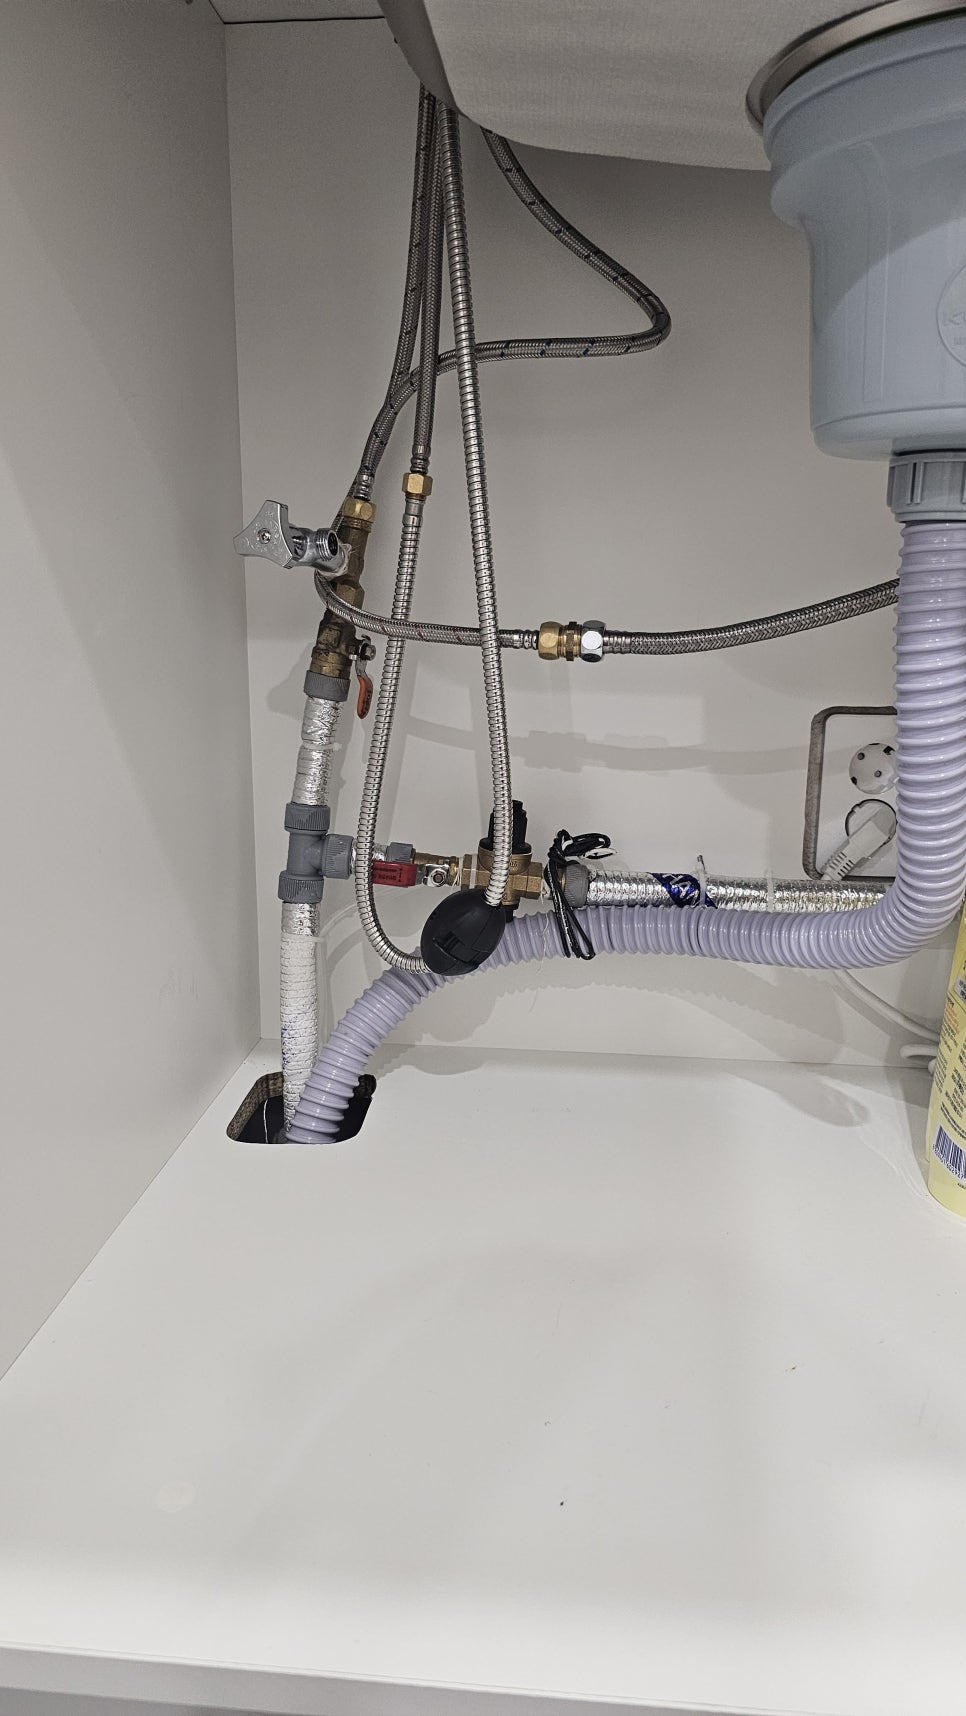
Leak testing is not a quick glance
Dry every joint, then restore pressure gradually. Watch threaded connections, unions, valve stems and transitions between different materials. Use clean tissue around joints to reveal slow moisture, and test again after fixtures have been operated. A tiny seep inside a cabinet can damage panels and flooring before it becomes visible.
Protect the meter without hiding it
Do not pack supplies tightly around the meter. Keep chemicals away from metal fittings and provide protection from impact if heavy items will be stored nearby. If the cabinet is enclosed, allow enough ventilation to reveal condensation or leakage early.
Final handover checklist
- Record the initial meter reading and photograph the installation.
- Label the main shutoff and the direction of flow.
- Show the tenant how to isolate the water in an emergency.
- Keep the meter serial number and any inspection record.
- Recheck for leaks after the system has remained pressurized.
Plumbing and metering rules can vary by municipality, building and business type. Use a qualified plumber and obtain any required approval or inspection. Compact routing is useful only when the meter remains accurate, supported and serviceable.
Adapted from the owner’s original Naver Blog case study: commercial water meter installation inside a shop sink cabinet.