A bathroom ceiling leak in a Korean apartment does not always come from failed waterproofing. In this Uijeongbu case, water appeared through the main-bedroom bathroom ceiling only when the upstairs resident used the washbasin. That timing was the key clue: the real problem was a cracked, improvised sink drain hose above.

Start with the pattern, not the visible stain
Water can travel along pipes, slabs and ceiling framing before it becomes visible. A stain directly below a fixture is useful evidence, but it is not proof. Ask when the leak occurs: continuously, after a shower, when a toilet is flushed, or only when a sink is used. Then test one fixture at a time while someone watches the ceiling below.
In this case, the ceiling stayed dry until the upstairs washbasin ran. The sink had been connected with a thin flexible hose simply laid into the floor drain. Age and movement had cracked the hose, allowing wastewater to escape beneath the tiles.
A practical diagnosis sequence
- Protect the room below. Switch off nearby electrical circuits if water is close to lighting or wiring, and place a container under the drip.
- Open the inspection panel. Check the ceiling cavity, pipe joints and the direction of the water trail.
- Coordinate with the upstairs resident. Run the basin, shower and toilet separately rather than all at once.
- Watch for delayed dripping. Some leaks take several minutes to travel through the slab or pipe sleeve.
- Photograph the evidence. Record the wet area, damaged connection and completed repair for building management or insurance.
Repair the actual drain connection
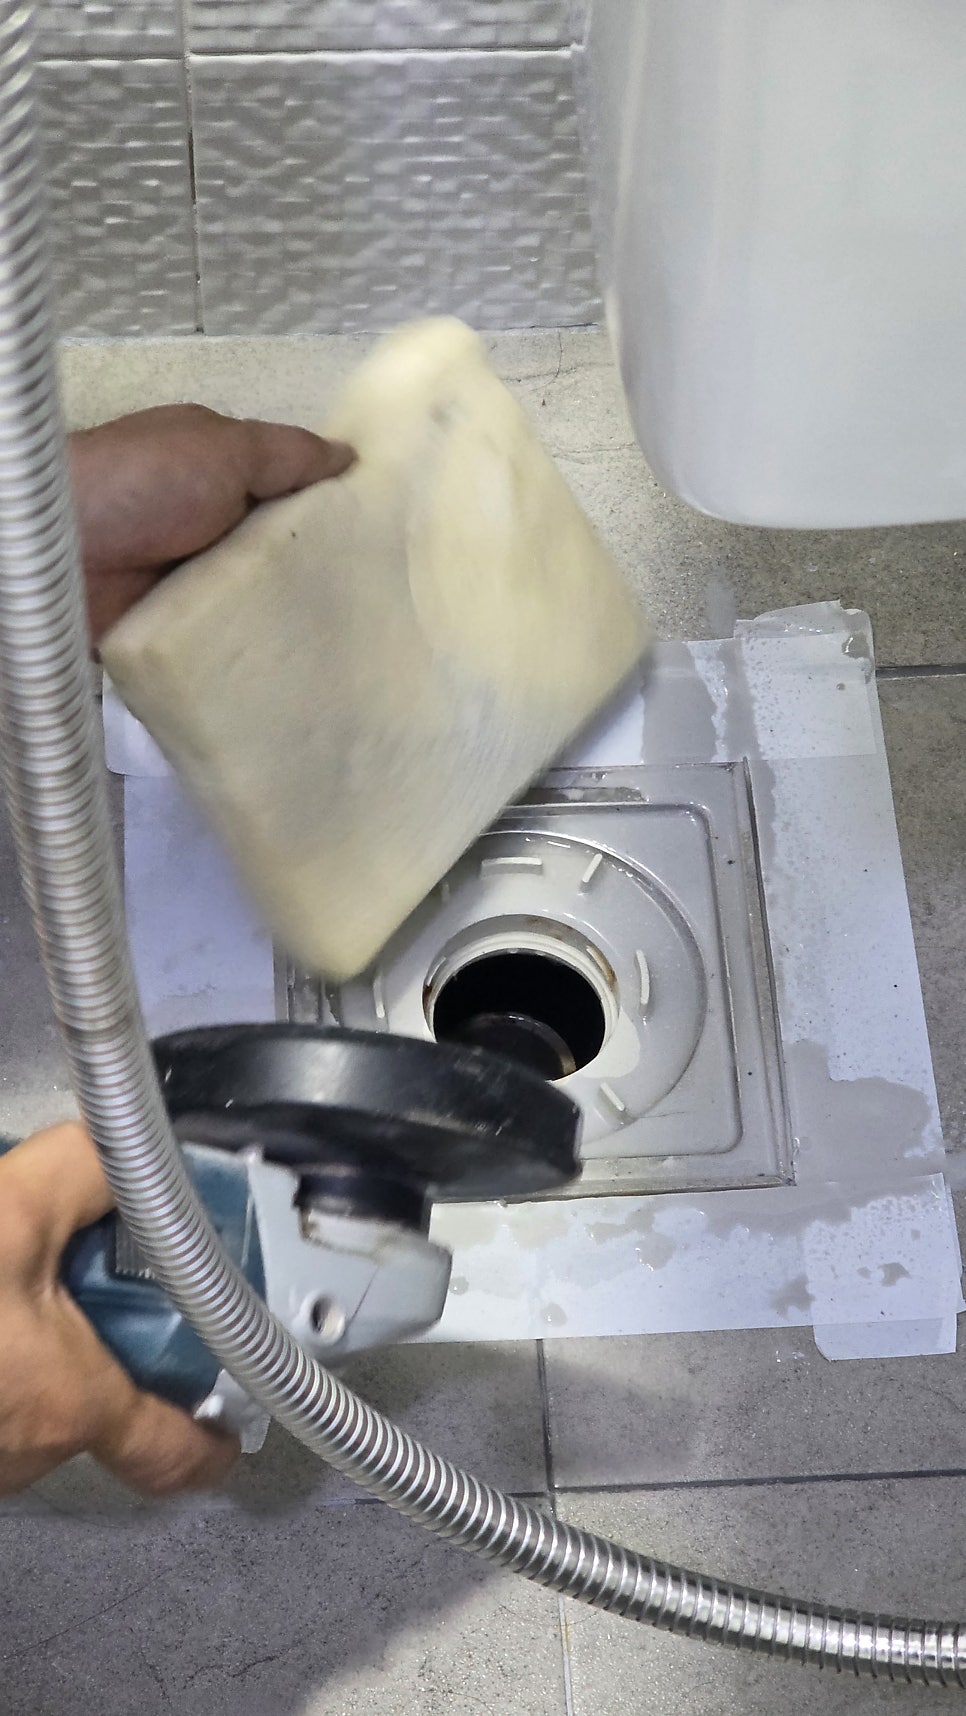
Once the washbasin drain was confirmed, a small area of tile was opened instead of demolishing the entire bathroom. The damaged flexible hose was removed, the cavity was dried, and a proper direct drain connection was installed. The opened area was then waterproofed and sealed before the basin was tested again.
Drying is part of the repair
Do not close a wet ceiling or tile cavity immediately. Trapped moisture can encourage mold, damage finishes and make it difficult to tell whether the repair succeeded. Ventilate the area, use a dehumidifier if needed and confirm that surrounding materials are dry before reinstalling panels or finishing silicone.
After the repair, run the basin at full flow, fill and release the bowl, and repeat the test several times. Check both the repaired connection and the ceiling below. A single quick test can miss a slow seep.
Who should handle the problem?
Apartment leaks often involve two households and common building elements. Notify building management early, keep communication factual and avoid assigning blame before the source is verified. A qualified plumber should handle concealed drainage, tile cutting and waterproofing. If water is near electricity, treat it as an urgent safety issue.
- Leak appears only during fixture use
- Ceiling paint bubbles or plaster softens
- Musty odor remains after the surface dries
- Dripping reaches a light fitting or fan
- The source is hidden inside a slab or wall
A methodical fixture-by-fixture test usually saves time and prevents unnecessary demolition. Fix the failed connection, allow full drying and document the final water test.
Adapted from the owner’s original Naver Blog case study: Uijeongbu bathroom ceiling leak traced to an upstairs sink drain.