Replacing a chimney range hood in a Korean apartment can become a cabinet project when the exhaust duct, chimney cover and ceiling height do not line up. This case shows why the best solution is not simply to hide the duct, but to create a removable and serviceable enclosure.
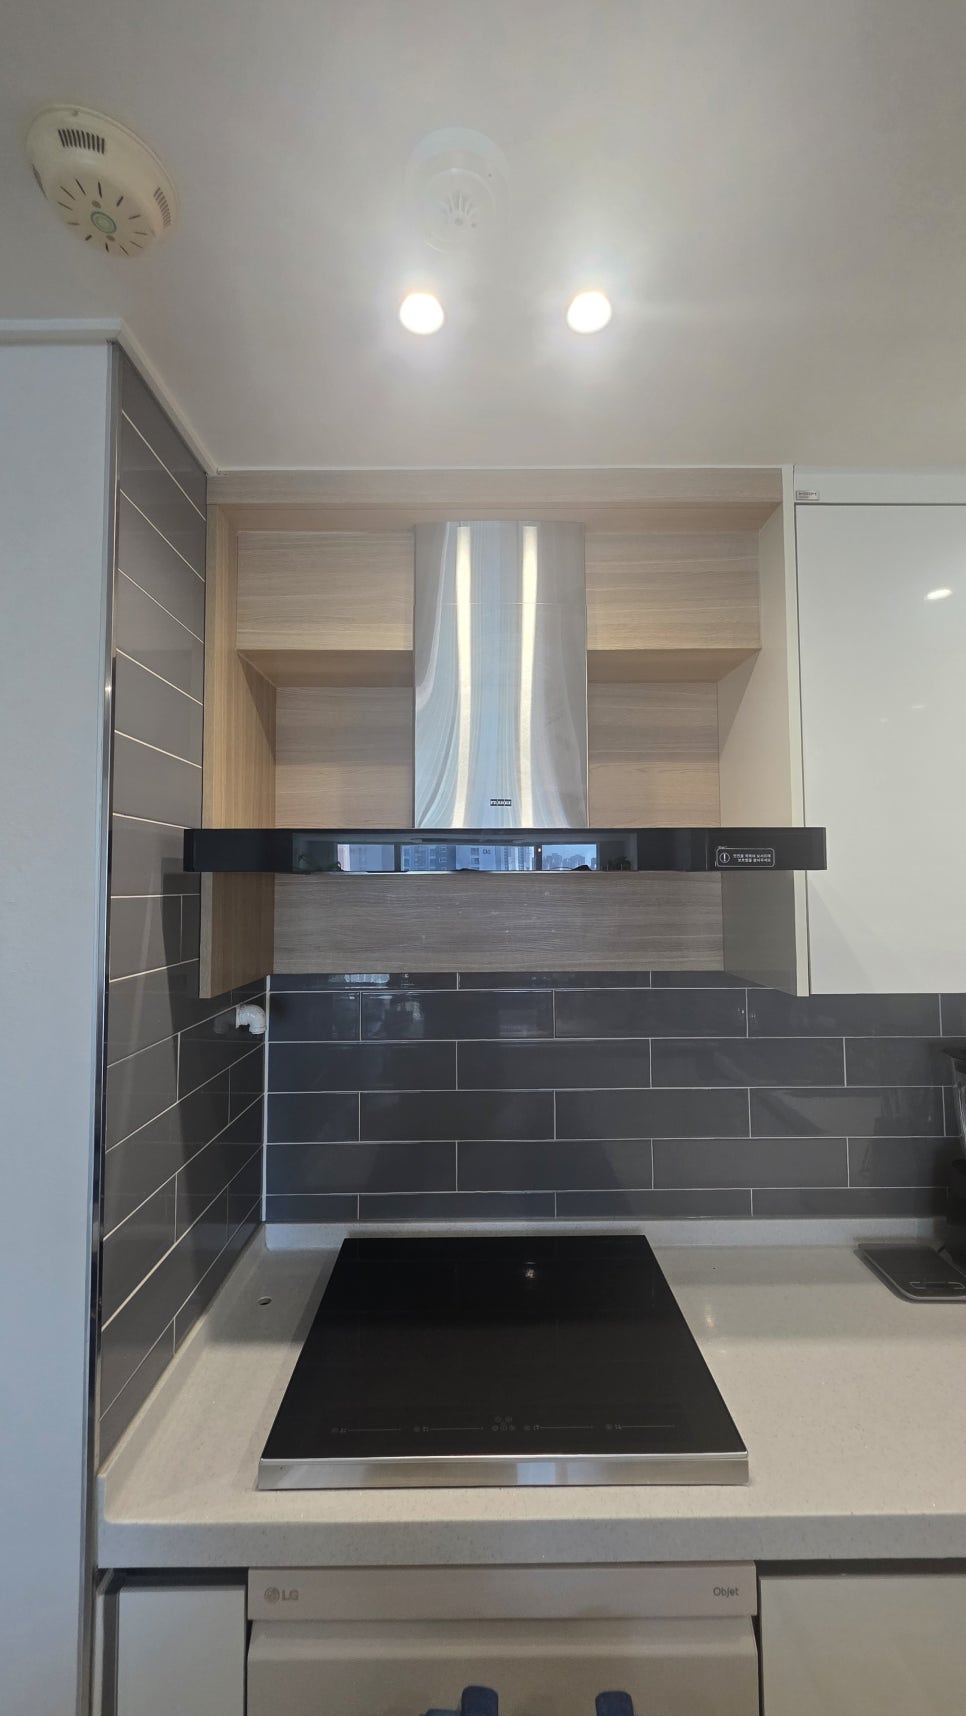
Why a simple one-for-one replacement was impossible
The old chimney hood had been surrounded by panels attached with silicone. They concealed an exposed exhaust duct, but the entire upper section had to be removed when the hood failed. The available ceiling space was also too short for the new 900 mm chimney cover at the correct cooking height.
Another complication was that the existing cabinets and wall panels did not share standard dimensions. A ready-made cabinet would not have fitted cleanly, so the enclosure had to be measured and fabricated on site.
A better five-step approach
- Remove the fixed cover and failed hood carefully. Exposing the duct first makes it possible to check its route and condition.
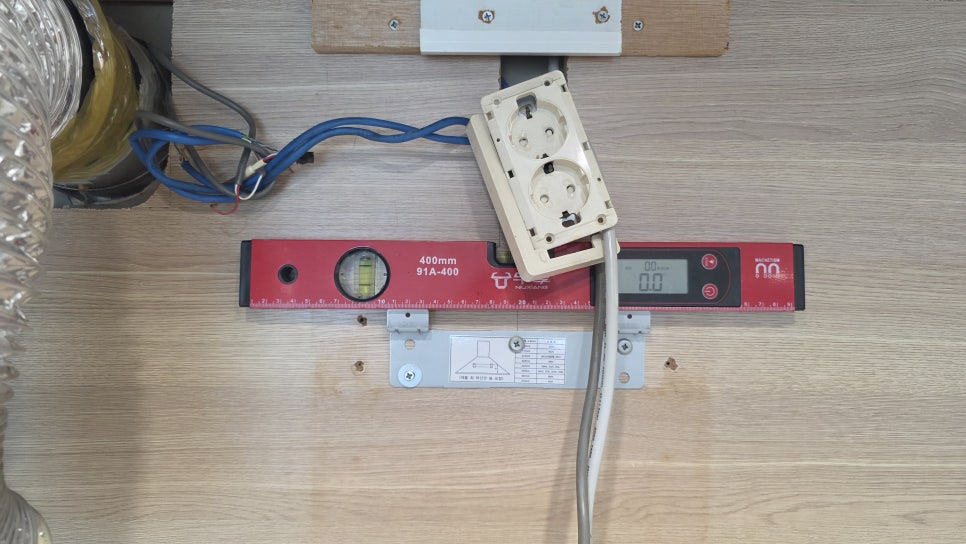
- Level the mounting bracket. A wide hood makes even a small tilt obvious, so the bracket was checked with a digital level before fastening.
- Install the hood and connect the exhaust duct. The appliance was mounted at a practical height without cutting its factory chimney cover.
- Build a custom enclosure. An 18 mm MDF cabinet was cut around the chimney so the product remained intact.
- Add an opening door. A lift-up front allows the duct connection and upper hood components to be inspected later.
Match the surroundings, not just the catalog
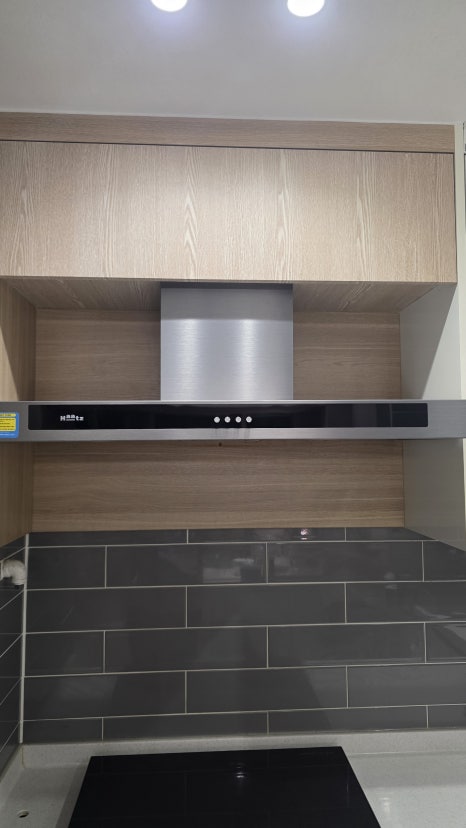
New high-gloss cabinet material can look noticeably different beside older doors that have faded with age. In this kitchen, a wood-pattern furniture film close to the existing wall panel created a more natural transition. Matching nearby finishes is often more convincing than ordering a nominally identical but brand-new surface.
Safety checks before work starts
- Confirm the hood width, mounting height and distance to the ceiling.
- Check the exhaust outlet position and the condition of the flexible duct.
- Verify that the wall can support the hood and cabinet.
- Look for an automatic fire-suppression canister inside or near the hood. Do not remove or relocate it casually; ask a qualified installer.
- Plan an access panel or opening door for future maintenance.
- If you rent, obtain the landlord’s approval before drilling or altering cabinets.
Questions to ask an installer
- Will the quote include removal and disposal of the old hood?
- Does the duct need replacement or rerouting?
- Will any cabinet or wall-panel cutting be required?
- How will the duct connection remain accessible?
- Will the hood be test-run for airflow, vibration and noise?
Budget and scheduling notes
Ask for separate prices for the appliance, duct work, cabinet fabrication, finishing and disposal. A chimney range hood may be replaced in one visit when the duct and surrounding cabinet already fit, but custom cabinet work can require measuring, workshop cutting and a return visit. Confirm who supplies the hood and whether electrical work is included.
Residents should clear the cooktop and nearby cabinets before work begins. Because drilling and cutting create fine dust, close adjacent rooms and protect food, cookware and small appliances. Keep the model number, purchase receipt and photos of the finished duct connection for future servicing.
A neat finish should not turn the next repair into a demolition job. When the duct cannot be concealed by the standard chimney cover, a custom enclosure with a proper access door is usually more maintainable than fixed panels sealed in place.
Adapted from the owner’s original Naver Blog case study: chimney hood replacement and custom hood cabinet in Dongtan.